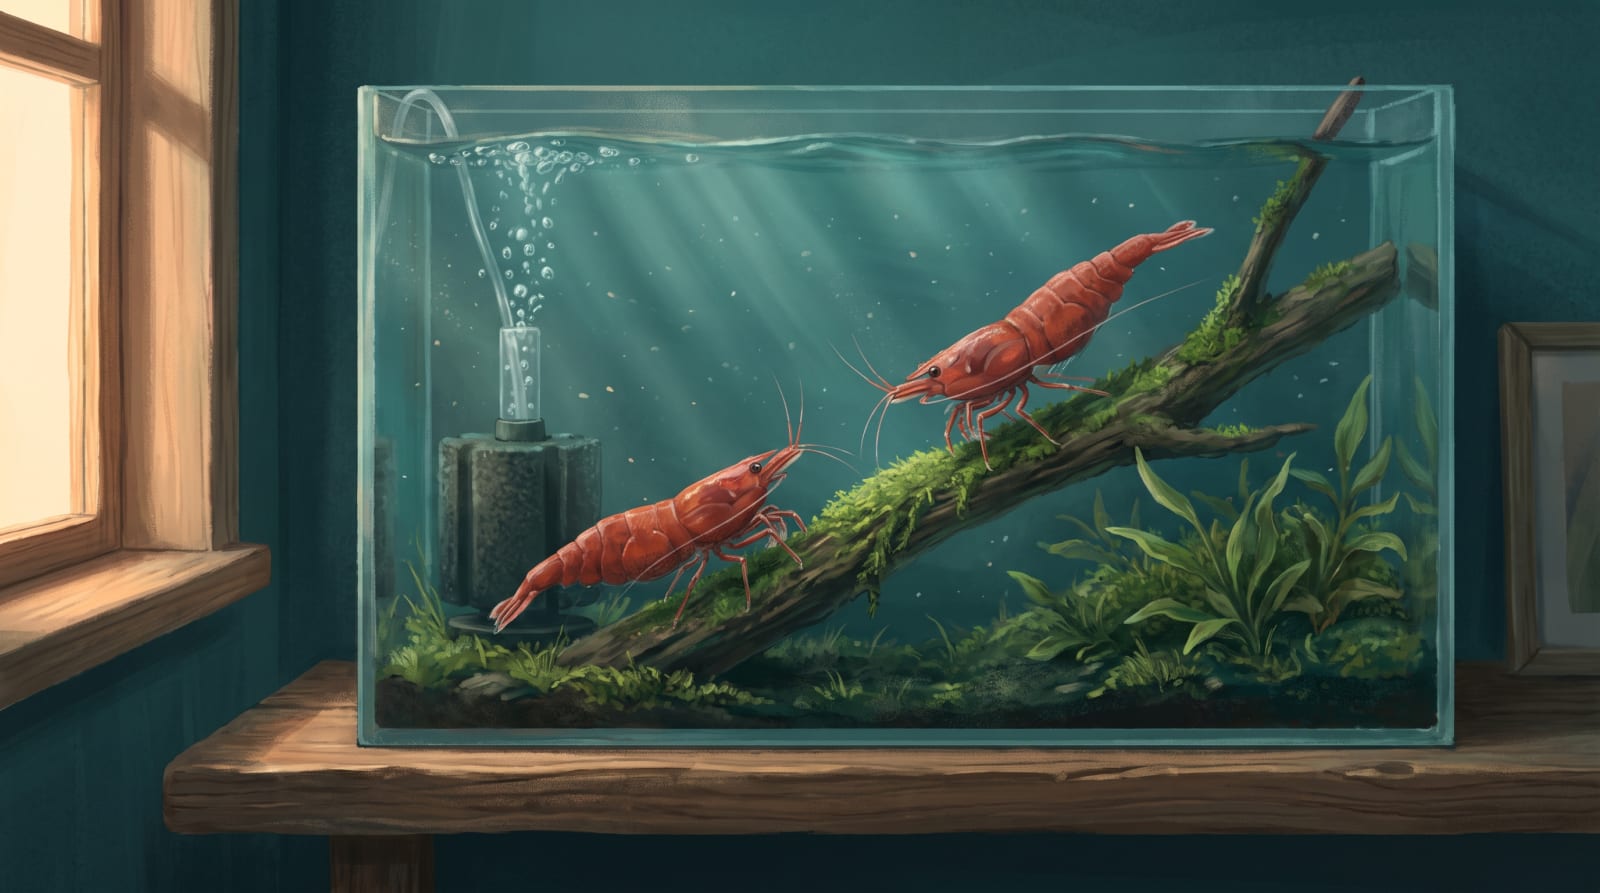
You don't need to spend a fortune to keep cherry shrimp well. Our first tanks were built out of budget kit and a few secondhand bits, and the colonies in them bred just as happily as the ones we run now. This is the honest version of what a first shrimp tank costs in the UK, laid out as a build you can put together for around £60, plus the two things we'd never cut corners on. Prices move about, so treat every figure here as a rough guide rather than a quote.
What £60 actually buys you
Here's the whole build in one place. These are indicative UK prices for new kit at the budget end; shop around, watch the secondhand listings, and you'll often come in under them. We buy by category rather than by brand, because almost everything a shrimp tank needs is a commodity — one air-driven sponge filter is much like another.
| Item | What to get | Rough cost |
|---|---|---|
| Aquarium | A 19L glass nano | around £20–25 |
| Filter | Air pump, sponge filter and airline | around £10–14 |
| Substrate | Inert sand or fine gravel | around £5–8 |
| Water treatment | Shrimp-safe dechlorinator | around £4–6 |
| Plants | A couple of pots of moss and one easy epiphyte | around £8–12 |
| Cover | A few botanical leaves or a piece of cholla wood | around £3–5 |
| Total | around £60 |
That £60 gets a proper home built, planted and treated. Two things sit on top of it and shouldn't be skipped — a way to test your water, and the shrimp themselves — and we'll come to both. The principle running through the whole build is simple: spend where it protects the shrimp, save where it's only cosmetic.
The tank is your biggest single decision
The temptation on a budget is to buy the smallest tank you can find. Resist it. Ten litres is the absolute minimum we'd stock, and 19 litres or more is what we actually recommend, because a larger body of water holds its temperature and chemistry steadier — and steady is the whole game with shrimp. A cheap 19L tank is a better first buy than a pricey 10L nano.
Footprint matters more than height. Shrimp graze surfaces, so a long, low tank with a big floor gives them more to work over than a tall column of the same volume. A lid is worth having too; shrimp rarely jump, but it slows evaporation, which keeps your parameters from drifting between water changes. If you want to weigh up the common sizes properly, we've compared them in our guide to the best nano tanks for shrimp in the UK, and the number of shrimp a given volume will hold is covered in how many shrimp per litre.
Filter and air: cheap and non-negotiable
An air-driven sponge filter is the standard for shrimp, and happily it's also one of the cheapest options on the shelf. There's no intake to pull shrimplets into, and the sponge itself becomes a huge grazing surface that the colony picks over all day. You'll need an air pump to run it, plus a length of airline and ideally a small non-return valve so a power cut can't siphon tank water back into the pump.
Don't be tempted by a flashy internal or canister filter to save buying an air pump. Open intakes are how baby shrimp vanish, and the gentle flow of a sponge suits shrimp far better than anything with a strong current. The full case for each type is in our sponge filter guide, but for a first tank the decision is made: sponge filter, every time.
Substrate, plants and cover
Inert substrate — plain sand or fine gravel — is all cherry shrimp need, and it's the budget choice too. Active buffering soils are aimed at soft-water species and cost several times as much; on a Neocaridina tank in typical UK water they're wasted money that drags your pH somewhere you don't want it. A darker substrate makes red and blue shrimp show better, but that's cosmetics, not care.
Plants are where a small spend pays off most. A couple of pots of moss and one undemanding epiphyte like anubias or java fern will grow the biofilm the colony feeds on and give shrimplets the cover they need to survive. Add a few botanical leaves — catappa (Indian almond) leaves are the classic — or a piece of cholla wood, and you've built grazing stations for pennies. One warning worth repeating: pesticide residue on farmed plants kills shrimp, so buy invertebrate-safe stock, or rinse and quarantine anything new before it goes near the tank.
Where cheap costs you shrimp
Two jobs are worth doing properly even on a tight budget, because getting them wrong is how first colonies die.
The first is dechlorination. Always use a proper shrimp-safe water conditioner, and check it neutralises chloramine as well as chlorine — several UK water companies dose chloramine, and unlike chlorine it doesn't gas off if you leave a bucket standing overnight. A bottle is a few pounds and lasts months. Which region you're in decides how much else your tap water needs; our UK tap water guide breaks it down by hardness, and the short version is that hard-water areas like London are generally fine from the tap once dechlorinated, while soft-water areas need a GH+ remineraliser on top.
The second is testing. The £60 build doesn't include a test kit, and that's a deliberate honest gap: a TDS pen (around £10–15) is the one cheap tool we'd add straight away, and a liquid test kit (around £20–25) is the upgrade that earns its keep during cycling. If money is tight, borrow a kit or split one with a friend, but do not add shrimp until you can confirm your water is safe.
Cycle before you spend on the shrimp
Here's the part that saves you money by making you wait. A shrimp tank needs a fully established nitrogen cycle — usually 4–6 weeks or more — before any shrimp go in. Ammonia and nitrite at any measurable level are killers, and an uncycled tank is behind most week-one deaths we hear about. The build above gets your tank running; then it sits, quietly growing bacteria and biofilm, while you test. Our guide to cycling a shrimp tank walks through the fishless methods step by step.
The upside of the wait is that a maturing tank is a cheaper tank to run. By the time it's cycled it's already carpeted in the biofilm that feeds the colony, so you'll buy less food and lose fewer shrimplets than you would dropping stock into a sparkling new setup.
What you can safely skip
A budget build is as much about what you leave off the list as what you put on it.
- A heater, usually. Most UK rooms sit around 18–21°C, comfortably inside the 18–26°C cherry shrimp tolerate. An unheated colony just breeds a little slower. Only add a small preset heater if your room drops below 18°C in winter.
- Active/buffering substrate. Great for Caridina, wrong for cherries in most UK water, and expensive.
- Pressurised CO2 and high-output lighting. The low-tech plants above want neither. A modest light on a timer is plenty.
- Premium branded everything. The dear version of a sponge filter, an airline or a bag of sand does nothing the basic version doesn't.
Skip all of that and the money lands where it matters. The full ordered build, from empty glass to stocked tank, lives in our step-by-step shrimp tank setup if you want the long version.
Buying your first shrimp
The shrimp are a separate spend from the £60 build, and you're buying them weeks later anyway, once the tank is cycled. Start with ten or more: a group that size all but guarantees both sexes and gives the colony room to grow. Standard-grade cherries run £2–4 each, so ten is roughly a £20–40 purchase — the cheapest livestock in the hobby for what you get back.
Stick to one colour line in your first tank. Every Neocaridina colour is the same species and they interbreed freely, so a mixed tank drifts back towards muddy wild-type brown within a couple of generations. The classic starting point is the red cherry shrimp itself: hardy, forgiving and cheap to replace while you learn. We're not selling shrimp ourselves right now — join the waitlist and we'll email you if we start breeding again.
For the everything-you-need-to-know version of keeping them alive once they're home, our cherry shrimp care guide is the place to start.
FAQ
How much does it cost to set up a shrimp tank in the UK?
A functional first tank comes to around £60 for the aquarium, sponge filter and air pump, inert substrate, dechlorinator, plants and a few botanicals. Budget a little more for a TDS pen and a test kit, which we'd class as essential rather than optional. The shrimp are separate: ten standard-grade cherries cost roughly £20–40. Secondhand kit brings the hardware total down further.
What size tank do I need for cherry shrimp?
Ten litres is the absolute minimum, and 19 litres or more is what we'd actually recommend. Bigger volumes hold their temperature and chemistry steadier, which is exactly what shrimp want, and they forgive the beginner mistakes a tiny nano punishes. Go for footprint over height — a long, low tank gives grazing shrimp more surface than a tall one of the same volume.
Do I need an expensive filter for shrimp?
No — the cheapest sensible option is also the best one. An air-driven sponge filter costs a few pounds, has no intake to trap shrimplets, and grows biofilm the colony grazes all day. You'll need an air pump and airline to run it. Skip internal and canister filters for a first shrimp tank; their open intakes and strong flow do shrimp no favours.
Can I set up a shrimp tank cheaply and still keep them alive?
Yes, easily. Cherry shrimp are undemanding, and a well-planted £60 build with a sponge filter keeps them as well as a setup costing five times more. The two places not to economise are water treatment and testing: use a dechlorinator that handles chloramine, and don't add shrimp until a test confirms the tank has cycled. Cheap kit is fine; skipped basics are what kills colonies.
Do I need special substrate for cherry shrimp?
No. Plain inert sand or fine gravel is all Neocaridina need, and it's the budget choice too. The active buffering soils sold for shrimp are made for soft-water Caridina and will drag your pH down for no benefit in most UK water. Choose a darker substrate if you want the colour to pop, but that's the only reason to spend a penny more.