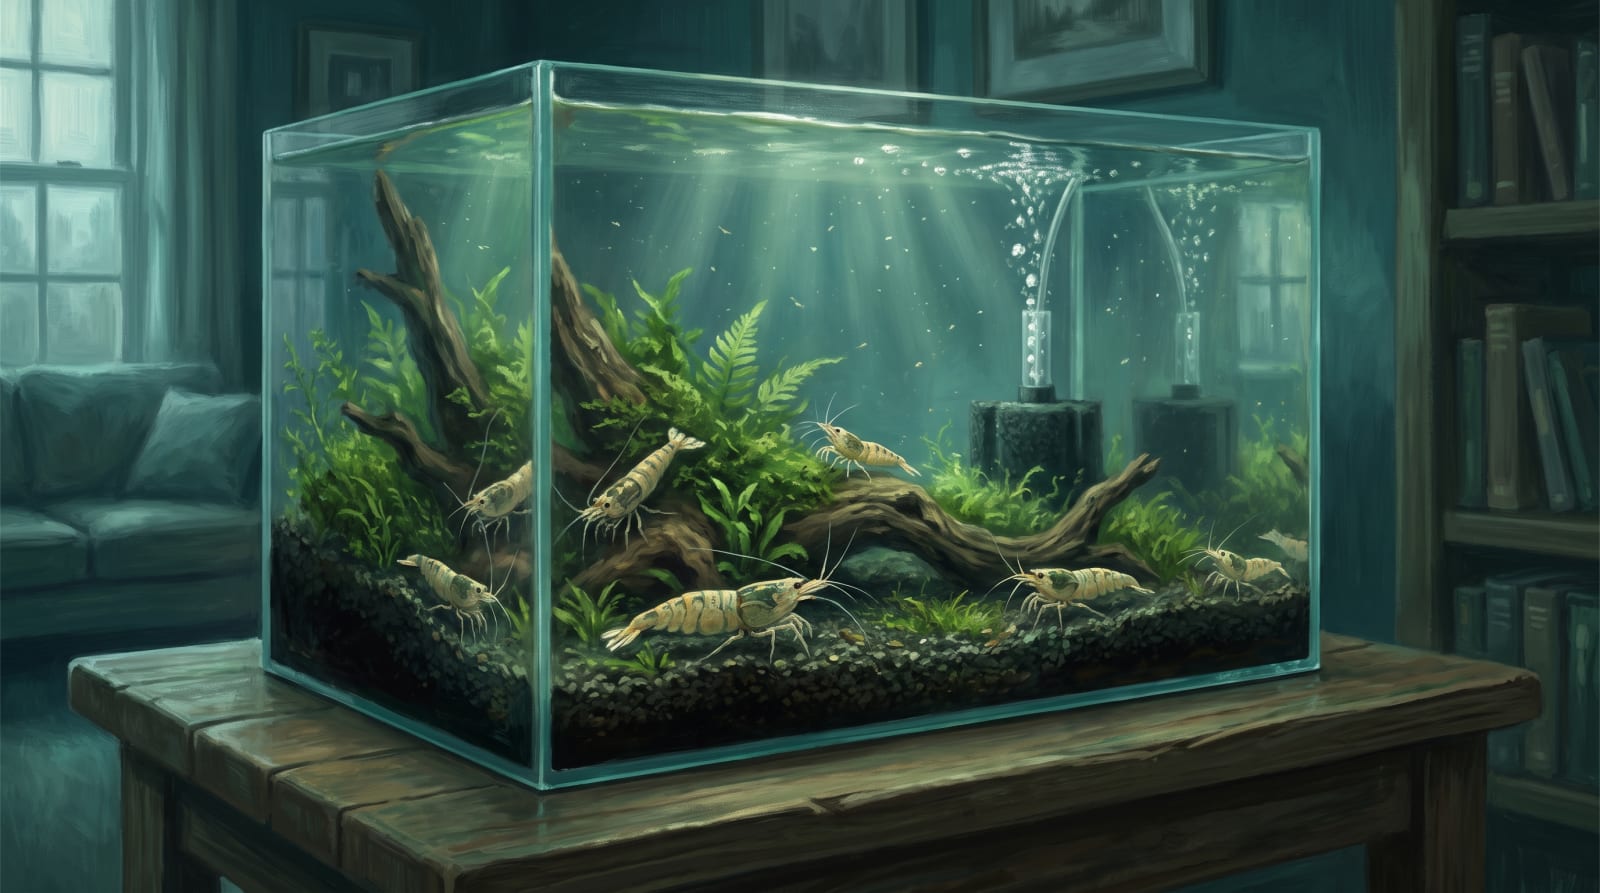
A cherry shrimp tank is one of the cheapest, calmest builds in the aquarium hobby, and it's genuinely hard to get wrong if you do things in the right order. The order is the whole trick: substrate before water, filter before cycling, cycling before shrimp. This is the exact sequence we use for every new tank in our breeding room, with a UK shopping list that contains nothing exotic and no gadget you'll regret buying.
The shopping list, by category
We buy by category rather than by brand, because nearly everything a shrimp tank needs is a commodity. One air-driven sponge filter is much like another, and the premium version of most items does nothing the basic version doesn't. Every line below is stocked by any decent UK aquatics retailer.
| Kit | What to look for | Essential? |
|---|---|---|
| Tank, 19L+ with lid | Glass, more footprint than height, flat level base | Essential |
| Sponge filter | Rated for your tank volume, or the size above | Essential |
| Air pump, airline, non-return valve | A quiet pump; the valve stops back-siphoning | Essential |
| Inert substrate | Plain sand or fine gravel, dark if you have the choice | Essential |
| Dechlorinator | Must state it treats chloramine as well as chlorine | Essential |
| Liquid test kit | Covers ammonia, nitrite, nitrate and pH | Essential |
| GH/KH test kit | Tells you what your tap water actually is | Essential |
| Ammonia source | For the fishless cycle | Essential |
| Thermometer | Any cheap glass or stick-on one | Essential |
| Live plants | Java moss, anubias and java fern to start | Essential in our book |
| Jug, bucket and spare airline | Water changes and drip acclimatisation | Essential |
| TDS pen | The cheapest early-warning tool you can own | Strongly recommended |
| Light on a plug-in timer | Only needs to grow easy plants | Recommended |
| Preset heater | Small, for rooms that drop below 18°C | Optional |
| Hardscape wood and rock | Cholla or spider wood; inert rock | Optional but worth it |
| Catappa leaves | A botanical grazing surface | Nice to have |
None of this needs to be expensive. If you want the same list priced up and trimmed to the bone, our £60 budget build shows exactly where we'd spend and where we'd happily go cheap.
Before you build: where the tank lives
A litre of water weighs a kilogram, so even a small aquarium is heavier than it looks once it's full. The furniture under it needs to be solid, flat and level — a cabinet or sturdy chest of drawers, not a flat-pack bookshelf already bowing under paperbacks.
Keep the tank out of direct sunlight, which grows algae and swings temperature through the day, and away from radiators and draughty doorways for the same stability reasons. You'll want a socket nearby for the air pump and light. Choose the spot as if it's permanent, because once the tank is full of water, it is.
Step 1: The tank — 10L minimum, 19L or more if you have the space
10L is the absolute minimum for cherry shrimp, and 19L or more is what we'd actually buy. That's not gatekeeping: small volumes of water change temperature and chemistry fast, and sudden change is the thing that kills shrimp. A 19L aquarium is more forgiving than a 10L, not harder work.
Shape matters more than people expect. Shrimp live on surfaces rather than in open water, so a long, low tank with a generous footprint beats a tall column of the same volume — more floor, more hardscape, more of the biofilm-growing area that feeds the colony.
Get a lid. Shrimp climb airline tubing and heater cables with surprising commitment, and a lid also slows evaporation. That last point is quietly important: evaporation leaves minerals behind, so an uncovered tank creeps upward in TDS between top-ups.
Step 2: Substrate — inert, rinsed, done
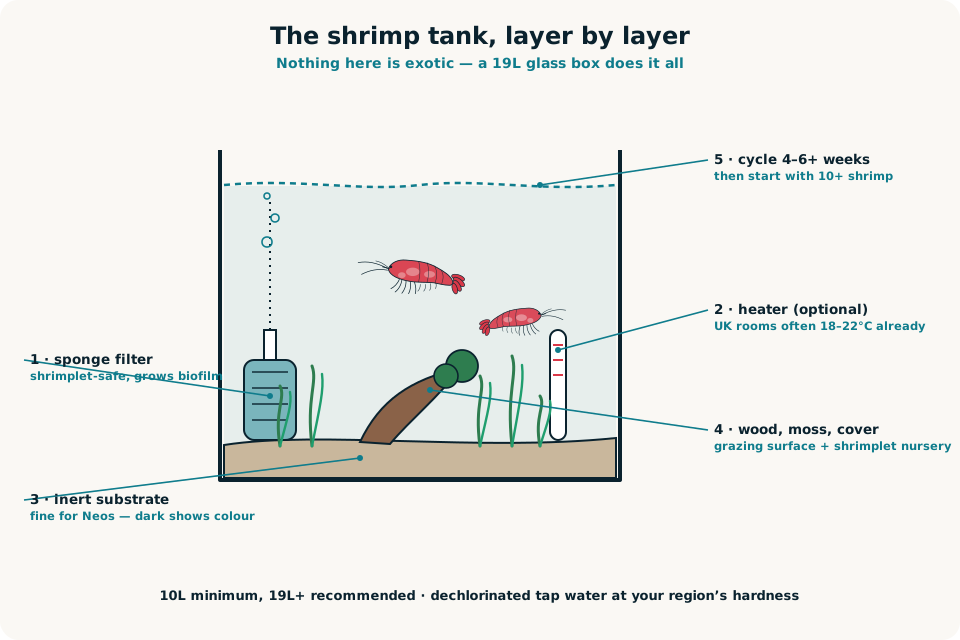
Plain sand or fine gravel is all Neocaridina need. The active "shrimp soils" you'll see advertised are buffering substrates designed for Caridina species that want soft, acidic water; on a cherry shrimp tank they drag the pH somewhere you don't need it to go and cost more to do it. The full inert vs active substrate comparison covers the reasoning, but for cherries the short version is: inert, every time.
Rinse the substrate in a bucket until the water runs clear, then lay it deep enough to plant into and no deeper. We use dark substrates in the breeding room because red and blue lines show far better against them — that's cosmetic, but you'll be looking at this tank for years.
Step 3: Hardscape — wood, rock and cover
Hardscape isn't decoration first; it's surfaces. Every branch and stone grows biofilm, and the shadows underneath become moulting shelters. Cholla wood is the shrimp-keeping classic — it softens slowly into a honeycomb the colony grazes all day — and spider wood or dried beech and oak branches all work well. Soak or boil new wood until it sinks; it will tint the water faintly with tannins, which cherries don't mind at all.
With rock, stay inert: slate, lava rock and dragon stone are all safe choices. Pale, chalky limestone-types slowly push GH and KH upward, which barely registers in a hard-water area but fights your numbers in a soft one. If you can't identify a rock, leave it out — the shrimp won't miss it.
Step 4: Plants — as many as the budget allows
Plant heavily. Java moss, anubias and java fern are the classic trio: undemanding, happy in low light, and dense with the surfaces biofilm grows on. Moss especially is nursery habitat — cover is the difference between shrimplets surviving and disappearing. Our best plants for shrimp tanks roster goes deeper, but you can't really go wrong starting with those three.
One warning we'll keep repeating: pesticide residue on farm-grown plants kills shrimp outright. In-vitro (tissue-culture) pots are the safe option; anything else gets a hard rinse and, ideally, a week or two of quarantine in a bucket with water changes before it goes anywhere near livestock.
Plant into damp substrate before you fill the tank. It's far easier to work, and less of it floats loose afterwards. A catappa leaf laid on the substrate now will be a grazing station by the time the shrimp arrive.
Step 5: The sponge filter
An air-driven sponge filter is the standard for shrimp, and it's what runs on every tank we own. There's no intake to pull shrimplets in, the sponge itself becomes a grazing lawn the colony picks over constantly, the flow is gentle, and there's nothing in the water to break. Position it in a back corner, connect the airline to the pump, and fit the non-return valve in the line — it stops water siphoning backwards into the pump if the power cuts.
If you're reusing an old power filter instead, cover the intake with a tight-fitting sponge prefilter and turn the flow down. The honest comparison of sponges against hang-on-backs, internals and canisters is in our best filters for shrimp tanks guide.
Step 6: The heater decision (most UK rooms: skip it)
Cherry shrimp are comfortable anywhere from 18–26°C. An unheated tank in a normal UK room sits around 18–21°C, which is entirely fine — the colony just breeds more slowly than it would in the 21–24°C sweet spot. Our breeding tanks run at 22–23°C; the display tanks in the house run unheated.
If your room drops below 18°C in winter — conservatories, spare rooms with the radiator off — add a small preset heater. Either way, fit the thermometer. It's the cheapest item on the list and it settles every "does this feel cold to you?" argument with a number.
Step 7: Fill it, dechlorinate it, switch it on
Pour the water in slowly over a plate or an upturned bowl so the substrate stays where you put it. Dechlorinate every litre. Many UK supplies use chloramine rather than chlorine, and chloramine doesn't gas off if you leave a bucket standing overnight — the conditioner must say it treats chloramine on the label.
Now's also the moment to test what your tap actually is. London and the South East are hard — GH often 12–18 or higher, with London averaging around 260ppm — and that's fine for cherries straight from the tap once dechlorinated. Much of Scotland, Wales, Cornwall and North West England runs soft at GH 2–6, which isn't enough mineral for reliable moulting and needs remineralising. The UK tap water guide covers this region by region, and your water company publishes the exact figures for your postcode.
Switch the filter (and heater, if fitted) on. From this moment the tank runs continuously — the filter is about to become home to the bacteria that make the whole system work.
Step 8: Cycle the tank — the 4–6 week step you can't skip
Cycling means growing the colonies of beneficial bacteria that convert ammonia into nitrite and nitrite into nitrate. Until they're established, any waste in the tank becomes poison; ammonia and nitrite at any measurable level are killers, and an uncycled tank is behind most week-one shrimp deaths we're asked to diagnose. A shrimp tank needs a fully finished cycle, which typically takes 4–6 weeks and sometimes longer.
The fishless method is simple: dose an ammonia source, test every few days, and let the bacteria build in the filter sponge. Squeezings or media from a healthy established aquarium will seed the process and shorten it considerably. The full walkthrough — methods, testing schedule, the stall points — is in how to cycle a shrimp tank.
You're done when the tank converts a dose of ammonia to nitrate with ammonia and nitrite both reading zero. Then do a large water change to bring nitrate under 20ppm before any livestock arrives.
The waiting weeks aren't dead time. Plants root in, biofilm starts to film over the wood, and the light settles into its 6–8 hour timer routine. A tank that cycles slowly while the plants establish is a better shrimp tank at the end of it than one rushed through in a fortnight.
Step 9: Final tests, then ten shrimp or more
Before spending a penny on livestock, test everything and check it against the targets:
| Parameter | Target before stocking |
|---|---|
| Temperature | 18–26°C |
| pH | 6.8–7.6 |
| GH | 6–12 |
| KH | 2–8 |
| TDS | 150–250 |
| Ammonia | 0 |
| Nitrite | 0 |
| Nitrate | Under 20ppm |
Don't chase perfection if a number sits slightly out — stability beats perfect numbers, and a steady pH of 7.8 is better than one being dragged around with additives.
Buy at least ten shrimp, all from one colour line. Ten all but guarantees both sexes and gives the colony genetic room to grow; mixing colour lines sends the offspring back towards wild-type brown within a couple of generations, so pick one line and enjoy it. Standard-grade cherries run £2–4 each in the UK.
When they arrive, drip acclimatise them over 1–2 hours rather than tipping them in — the gap between the seller's water and yours is exactly the sudden swing shrimp hate most. The drip method guide walks through it with nothing more than a jug and an airline. Net the shrimp across at the end; the transport water goes down the drain, never into the tank.
As for the shrimp themselves: we're not selling any right now, so buy from a seller who can show you the actual group and tell you the water it lives in.
The first weeks with shrimp in
Expect new arrivals to look pale and hide for a day or two — colour returns as stress drops. Feed nothing on day one, then settle into 2–3 small feeds a week; a cycled, planted tank is already growing biofilm, which is their primary diet, and overfeeding is the number-one killer of cherry shrimp. Any fresh food still sitting there after a few hours comes out.
Change 10–20% of the water weekly — dechlorinated, temperature-matched, poured in slowly — and top up evaporation between changes. Beyond that, the routine is mostly watching, which is the good bit. The complete ongoing-husbandry manual is our cherry shrimp care guide; the setup was the hard part, and you've just finished it.
FAQ
What do you need for a shrimp tank?
A glass aquarium of 19L or more (10L at a push), an air-driven sponge filter with an air pump and non-return valve, inert sand or fine gravel, easy live plants, a chloramine-rated dechlorinator, a liquid test kit plus a GH/KH kit, a thermometer, and an ammonia source for cycling. A TDS pen and a light on a timer are the first upgrades we'd add. Most UK rooms don't need a heater.
How long should a new shrimp tank run before adding shrimp?
Until the nitrogen cycle is finished, which typically takes 4–6 weeks and sometimes longer. The calendar isn't the test — the readings are: the tank should convert dosed ammonia with ammonia and nitrite both at zero and nitrate rising. Seeded filter media from an established aquarium can shorten the wait considerably.
What size tank do cherry shrimp need?
10L is the absolute minimum and 19L or more is what we recommend. Bigger is easier, not harder: a larger volume holds its temperature and chemistry steadier, and shrimp are killed by swings far more often than by any single wrong number. More volume also means more of the biofilm-covered surface area the colony feeds on.
Do I need a heater for a shrimp tank in the UK?
Usually not. Cherry shrimp are happy from 18–26°C, and an unheated tank in a typical UK room sits around 18–21°C — fine for health, merely slower for breeding. If the room drops below 18°C in winter, or you want the quicker breeding that comes at 21–24°C, add a small preset heater.