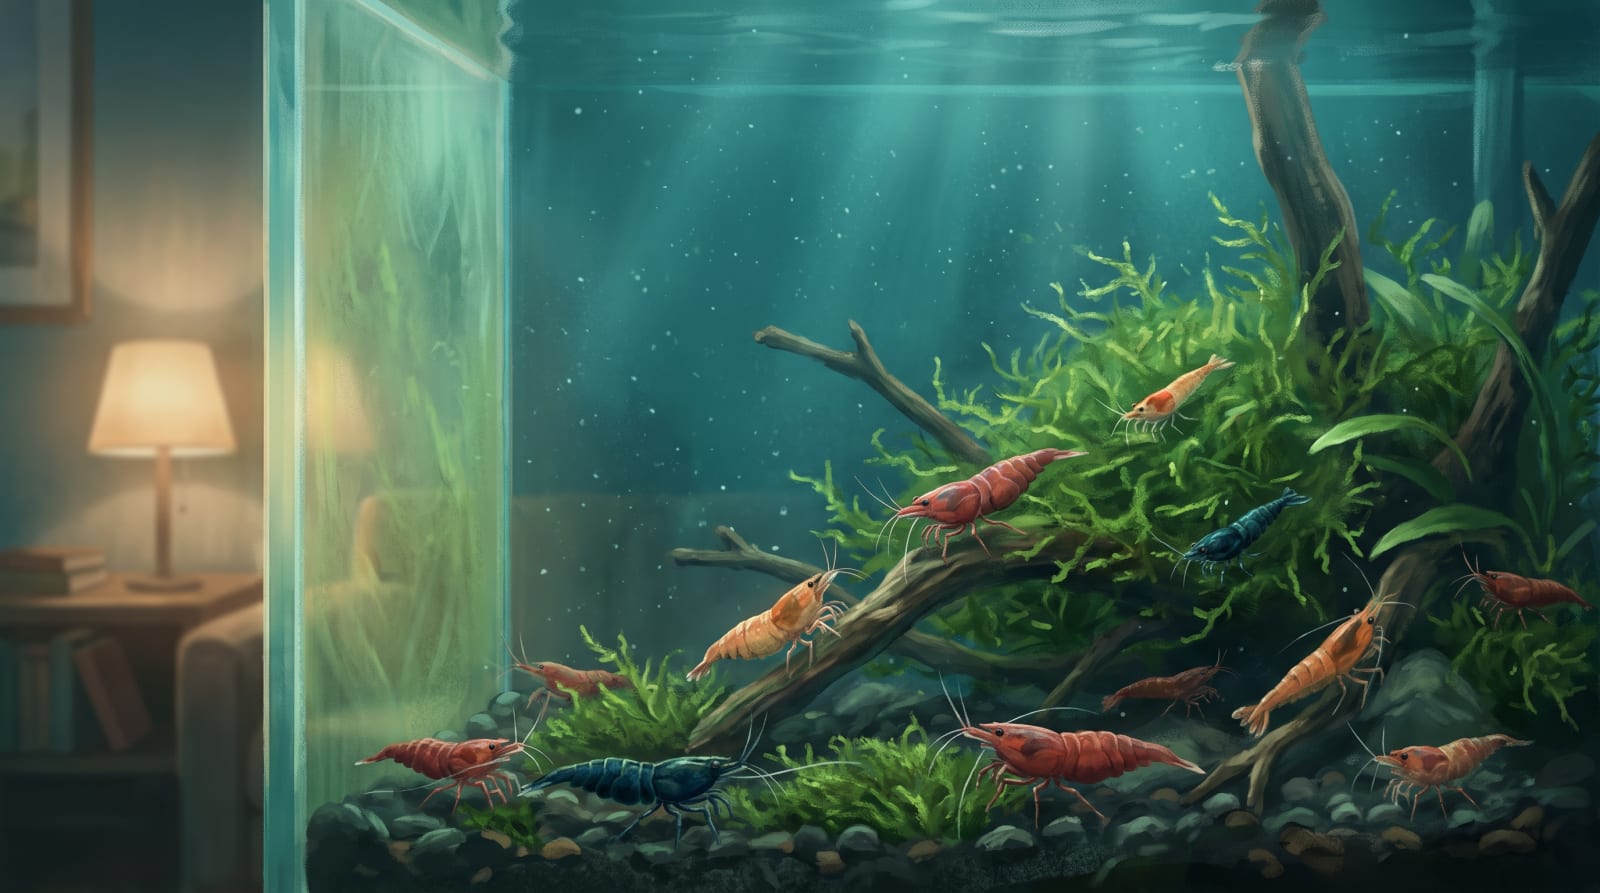
A shrimp tank is the lowest-maintenance aquarium we run, and that's the point rather than an accident. Left largely alone, a mature colony feeds itself, cleans itself and breeds without any help from you — and the surest way to harm one is to "clean" it thoroughly. Our entire weekly routine fits inside fifteen minutes, and a good third of that is standing still and watching. Here's exactly what we do each week, and the longer list of things we deliberately leave well alone.
What fifteen minutes actually buys you
The goal of shrimp tank maintenance isn't a spotless tank; it's a stable one. Everything in the routine below is aimed at holding the water steady and the food supply intact, because stability is what keeps a colony alive and breeding. A tank that looks a little lived-in — a film on the back glass, a dusting of algae on the wood — is a tank that's feeding its shrimp. Chasing it to a showroom shine is how colonies crash.
So the week is light on purpose. One small water change, a couple of quick checks, a wipe of the front glass, and time spent looking. That's genuinely it.
The weekly loop, step by step
Here's the named routine we run on every established tank, start to finish.
| Step | Time | What you do |
|---|---|---|
| Watch | 3 min | Count active grazers; scan for trouble |
| Front glass | 1 min | Wipe the viewing pane only |
| Water change | 5 min | Swap 10–20%, temperature-matched and dechlorinated |
| Top-up | 2 min | Replace evaporated water to hold TDS steady |
| TDS log | 1 min | Note the reading; watch the trend |
| Feed check | 3 min | Confirm the last feed cleared; adjust portions |
Watch first. The most useful thing you do all week costs nothing. Stand and count how many shrimp are grazing. A busy, picking colony is a healthy one; several shrimp sitting still out in the open with idle mouthparts is your cue to test the water before you do anything else. You'll often catch trouble here, days before it becomes a die-off.
Wipe the front glass only. Clean the one pane you look through and leave the other three. The film you're tempted to scrub off the sides and back is biofilm, and biofilm is food — much more on that below.
Change 10–20% of the water. Small and regular beats big and occasional every time. New water goes in dechlorinated and matched to tank temperature, added slowly rather than tipped in, so the colony never feels a swing. The full method, and why a gentle change matters so much, is in our guide to safe shrimp water changes; the conditioner side, including why chloramine won't simply gas off overnight, is covered in our shrimp-safe dechlorinators guide.
Top up for evaporation. Between changes, evaporation leaves the minerals behind and quietly concentrates the water, so a tank left to drop creeps upward in TDS. Topping back up to the line with dechlorinated water keeps it steady.
Log the TDS. A TDS pen is the cheapest genuinely useful tool in the cupboard. Dip it, note the number, and read the trend rather than the single figure: a slow climb means evaporation or overfeeding, a sudden jump means something happened. Why this one number is such an early warning is laid out in our TDS guide.
Check the feed. Glance at whether the last supplement actually cleared. In a mature tank we feed two to three times a week, and any fresh food should be gone within a few hours — pull out what isn't. If leftovers are routinely sitting there, you're feeding too much, which is the single most common way keepers foul a shrimp tank; the signs and the fix are in our overfeeding guide.
The one monthly job: squeeze the sponge
The sponge filter is the only thing that needs more than a weekly glance, and even then only about once a month. Over time it clogs with detritus and its flow drops off, so give it a squeeze — but never under the tap.
Chlorine in tap water kills the beneficial bacteria living in the sponge, which is the whole reason the filter works, so rinsing it in tap water leaves you with clean foam and no biological filtration, inviting an ammonia spike. Instead, take a jug of water out of the tank during your weekly change and squeeze the sponge out in that, a few times, until the water runs less filthy. Pop it straight back and you're done. The reasoning, and why the sponge is the right filter for shrimp in the first place, is in our sponge filter guide.
What NOT to clean — biofilm is food
This is the half of shrimp keeping nobody warns you about: most of what looks like "dirt" in a shrimp tank is dinner.
Biofilm — the slightly slippery, barely-visible layer that grows on glass, wood, leaves and the filter — is the primary food of the whole colony, shrimplets included, from their first day. Scrub it off in the name of cleanliness and you've taken the food away. So we leave the sides and back glass alone, let the wood and leaves soften and grow their coat, and never bleach or boil-clean décor that's quietly doing its job. If biofilm is a new idea, it's worth understanding properly, because it changes how you read a "dirty" tank — our biofilm guide makes the case.
The gravel vac deserves its own mention, because it's the tool most likely to cause harm here. A hard, thorough gravel-vac of a shrimp tank strips biofilm, sucks up shrimplets you'll never see going, and stirs up a swing the colony then has to ride out. In a sensibly fed tank the substrate barely needs it. If detritus is genuinely piling up, that's usually a sign you're overfeeding, and the answer is to feed less rather than to vac harder — at most, hover the vac an inch above open substrate to lift the worst without digging in.
Why deep cleans kill shrimp tanks
Everything above comes down to one principle: a shrimp tank is a stable little ecosystem, and a deep clean is an earthquake. Strip the biofilm, rinse the sponge under the tap, replace most of the water and scrub every pane in one session, and you've removed the food, wiped out the beneficial bacteria and handed the colony a large parameter swing all at once. That combination is a textbook trigger for failed moults and a crash — the exact opposite of what the clean was meant to achieve.
Stability beats sparkle, every time. The colonies that thrive are the ones kept to a light, boring, repeatable routine, not the ones "treated" to a big tidy every few weeks. The wider idea — steady numbers over perfect ones — runs through our whole cherry shrimp care guide, and it's never truer than at maintenance time.
When the routine changes
The fifteen-minute week assumes a mature, cycled, sensibly stocked tank ticking over normally. A few situations honestly ask for more. A brand-new tank still finding its feet needs closer testing until it's settled. A heatwave can drop the oxygen level and warrant extra attention, or a small extra water change to hold temperature down. And any sign of trouble — a die-off, an ammonia reading, shrimp going still — suspends the routine while you diagnose. Outside those, though, less really is more: the best thing you can do for a settled shrimp colony most weeks is very little, done consistently.
FAQ
How often should you clean a shrimp tank?
Lightly, once a week, and it takes about fifteen minutes. That's a wipe of the front glass, a 10–20% water change, a top-up, a TDS check and a look at the feeding — plus squeezing the sponge filter out in old tank water about once a month. Everything beyond that is usually unnecessary, and a full deep clean does more harm than good by stripping the food supply and swinging the water.
Can you gravel vac a shrimp tank?
You can, but gently and rarely, if at all. A hard gravel-vac strips biofilm, sucks up shrimplets and stirs up a parameter swing the colony has to ride out. In a sensibly fed tank the substrate barely needs vacuuming; if detritus is piling up, that's usually a sign to feed less rather than to vac harder. At most, hover the vac just above open substrate to lift the worst without digging in.
How much water should you change in a shrimp tank?
Ten to twenty percent a week, temperature-matched and dechlorinated, added slowly. Small and regular is the rule: a big one-off change is a TDS and temperature swing, and sudden swings are what kill cherry shrimp. Between changes, top the tank back up for evaporation so the water doesn't quietly concentrate and climb in TDS.
Should you clean the algae and film off the glass?
Only the front pane you look through. The film on the sides and back glass is biofilm, the primary food of the whole colony, so scrubbing it off takes dinner away from your shrimp and their young. Leave it be, along with the coat on the wood and leaves. A slightly lived-in shrimp tank is a well-fed one, not a dirty one.